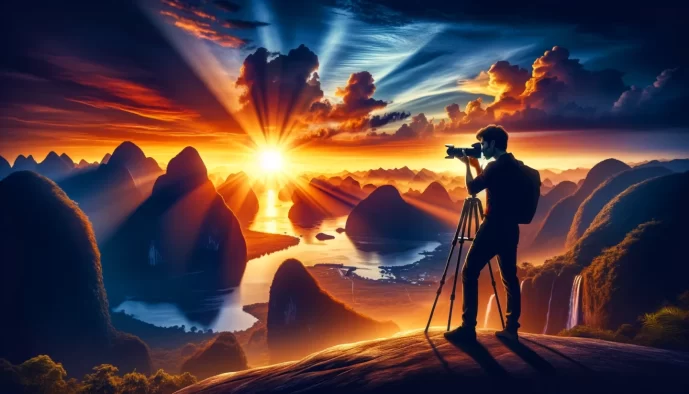
Achieving Proper Exposure
Unlock the secrets of aperture, ISO, and shutter speed to perfect your photos.

Introduction to Exposure
What is Exposure?
Exposure is the amount of light that reaches the camera sensor, creating the image you see. It’s the cornerstone of photography – no light, no photograph.
The Importance of Proper Exposure
Proper exposure ensures that your photographs showcase the intended balance of light and shadow, texture, and detail. Overexposed images are washed out; underexposed images are murky.
The Exposure Triangle
Aperture
Aperture is the camera’s diaphragm opening, measured in f-stops. A wider aperture (small f-number) allows more light and a shallow depth of field. A smaller aperture (large f-number) lets in less light, granting a deeper focus range.
Shutter Speed
Shutter speed is the duration your camera’s shutter remains open, exposing the sensor to light. Fast speeds freeze action, while slow speeds create motion blur.
ISO
ISO denotes the sensor’s sensitivity to light. A lower ISO means less sensitivity, ideal for bright conditions; a higher ISO brightens images in lower light but can introduce grain, or "noise."
Metering and How It Affects Exposure
Understanding Metering Modes
Different metering modes determine how the camera measures the light. Spot metering reads a small area, center-weighted averages the center, and matrix evaluates the entire scene.
Using Exposure Compensation
Exposure compensation allows you to override the camera’s metering. Dial up to brighten or down to darken the image, adapting to challenging lighting conditions.
Manual vs. Automatic Exposure
Pros and Cons of Manual Exposure
Manual exposure gives full creative control, essential for consistency and dealing with tricky lighting. However, it demands a solid understanding of the exposure triangle and can be slower in dynamic environments.
Pros and Cons of Automatic Exposure
Automatic exposure is speedy and user-friendly, ideal for beginners or fast-paced scenes. Its drawback is overreliance which can hinder learning and occasionally result in misguided exposures.
Tips for Mastering Exposure in Different Settings
Outdoor Photography
Aim for an aperture of f/8 to f/16 on sunny days for sharp landscapes. Use faster shutter speeds to capture movement without blur.
Indoor Photography
Open up your aperture and raise the ISO in low-light interiors while being mindful of the grain. Bounce flash off ceilings for diffuse indoor lighting.
Low Light Situations
Embrace a tripod and a slower shutter speed to avoid raising the ISO excessively. Patience is key; low light is not synonymous with bad light.
Advanced Exposure Techniques
HDR Photography
High Dynamic Range combines multiple exposures to handle high contrast scenes, pulling detail from shadows and highlights.
Long Exposure
Long exposures capture a sense of motion, from star trails to flowing water. Use a stable tripod and a remote shutter release for sharpness.
Exposure Bracketing
Bracketing takes several shots at different exposures, ensuring you nail the shot when lighting is unpredictable.
Conclusion and Practice Tips
Experimenting with Different Settings
Experimentation breeds mastery. Adjust one element of the exposure triangle at a time to see its impact.
Learning from Common Exposure Mistakes
Analyze your misfires. Often they’re more instructive than your successes, leading to a profound understanding of light and exposure.
Mastering exposure is a dance with light, and while the rules are set, the performance is yours to choreograph. Whether you’re a novice or a seasoned shooter, each photograph is an opportunity to refine your technique. Keep shooting, keep learning, and let the light guide you to that perfect exposure.